The Crack the Code Workshop – Brick Game Decoded
minutes read
You know what the best part of our training sessions at Dazeworks was? Without doubt, it was the session where we designed games using all that we learnt till then. It was exciting and at the same time, made us think and analyse – a challenge that we all loved. Here’s what we did.
We designed a single player game which is similar to our old Brick Game. In this game, the player has to save himself from getting hit by random cars that are generated. Once the player gets hit, he loses the game.
Check out the game on CodePen.
For designing this game, we used the following technologies:
- HTML
- CSS3
- Bootstrap
- Vanilla JavaScript
- JQuery
We designed the graphical interface of the game using HTML, CSS and Bootstrap and for the functionality we used Vanilla JavaScript and JQuery.
For building up this game, we used bottom-top approach, i.e. initially each individual functionality was built and were integrated in the end.
Flowchart

Fig: 1.1 Flowchart
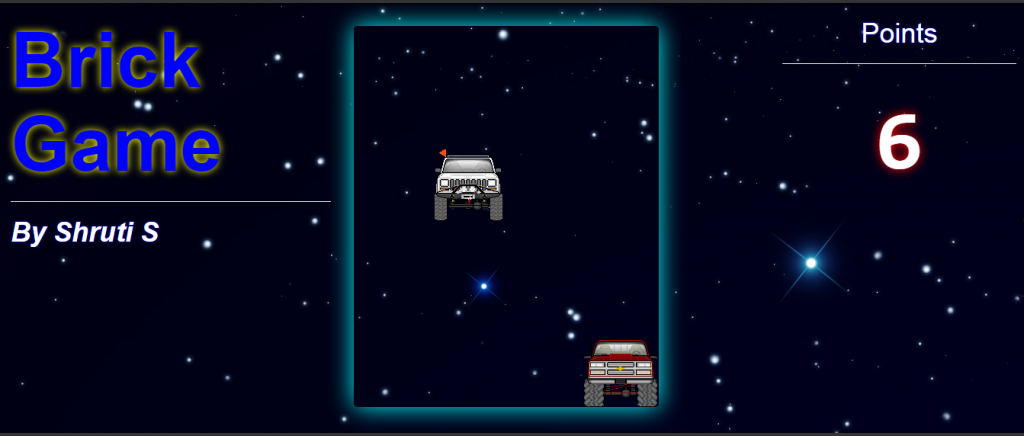
As the first step, we designed the playground or the play area of 500px height and 400px width using the <div> tags in HTML and applied styles to it using CSS3 and Bootstrap.
Then we designed a player, which in our case is a red car using another <div> tag as a child of the playground <div>.

Fig: 1.2 Player
Two functions were written for the Left and Right movement of the player’s block (red car). For this, we checked the left and right movements of the player with the help of keyCode property and used the .css() of jQuery to modify the value of left in the player’s class in the css file. The right or left movements were made by adding or subtracting 100px value to the current left value according to the key pressed.
Left Movement :
https://gist.github.com/shrutis22/c60ffcc38d265feeb4c2
Right Movement :
https://gist.github.com/shrutis22/f414604c1009c5f4e4dd
Later, with the help of JavaScript, we created a function to develop the blocks(opponents). .append() of jQuery was used to add the opponent blocks as new <div> tags as a child of the main <div> playground.
Creating Opponents :
https://gist.github.com/shrutis22/7ef3f95909ecd9c07e08
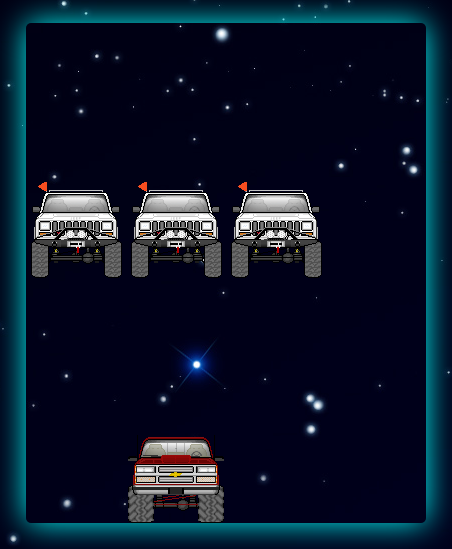
Fig: 1.3 Opponents
Another function was created to generate their positions randomly. Math.random() was used to create the random position of the blocks. Finally these random values were substituted to the current left attribute values using .css() function in jQuery.
Generating Random Positions :
https://gist.github.com/shrutis22/6653ebff023f94d06774
For the movement of the blocks, another function was written in which the top values of the randomly generated blocks are gradually increased. With the help of .animate() of jQuery, we made the blocks fall from top to bottom. The speed of the movement and the type of movement are defined in the .animate() method.
Moving Opponents :
https://gist.github.com/shrutis22/c176eeba7bc62bf8a56f
We then used an algorithm and wrote a function for detecting the collision. In the algorithm, we checked the left attribute value of the randomly generated blocks and the current left attribute value of the player. If they are equal and the top attribute value is greater than or equal to 400, then alert the player that he lost the game.
Collision Detection :
https://gist.github.com/shrutis22/1fff5fb7a6b87ba3b278
Incrementing Points :
https://gist.github.com/shrutis22/43480bd9312964979d22
And finally we linked all these functionalities using ready() function in jQuery and the game starts on the click of the Start button.
Start Game :
https://gist.github.com/shrutis22/21015fd67fc57ace11a9
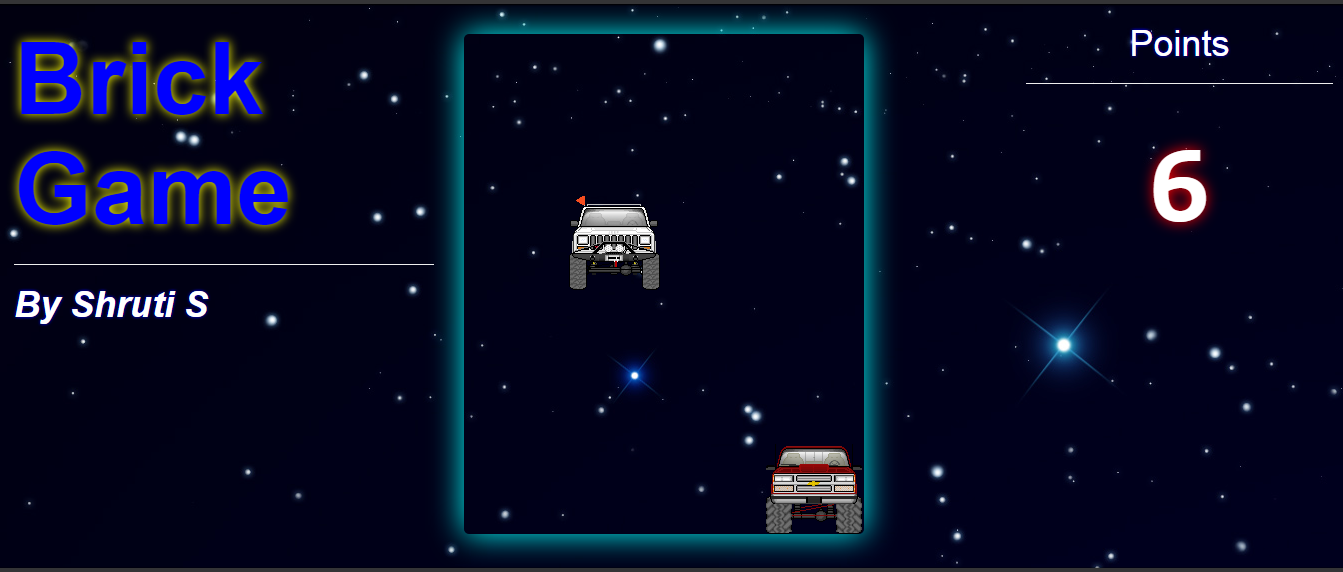
Fig: 1.4 Game
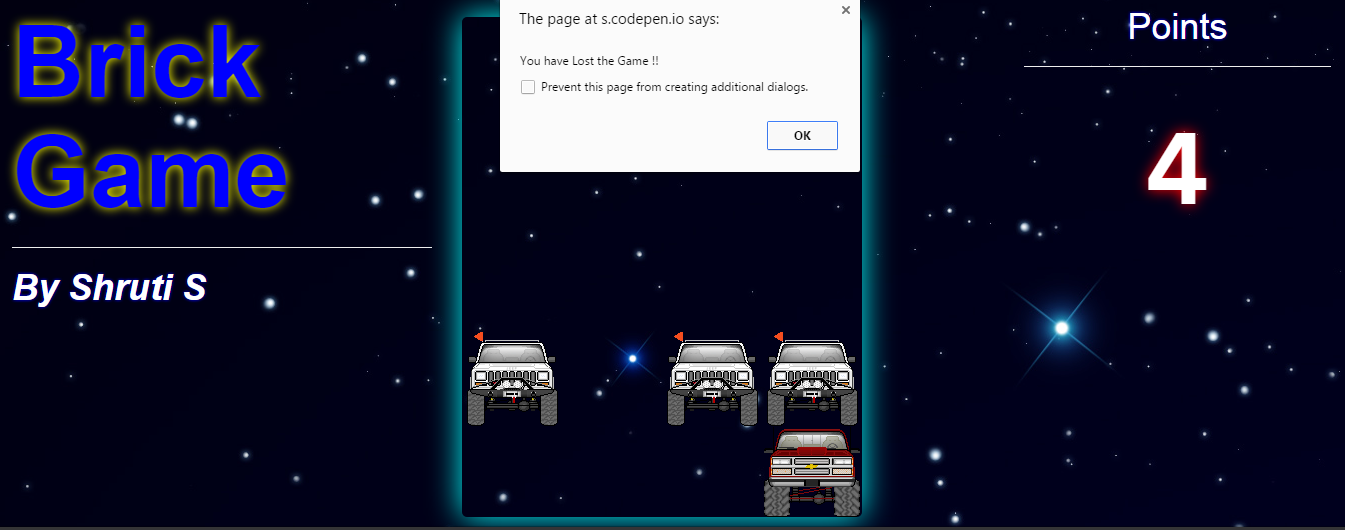
Fig: 1.5 Player Loses the Game
So now you know why I said this was the best part! You could try it out too and make sure to drop a comment below on how it went.